This newsletter has English and Spanish versions. To choose which language you receive, visit your settings on Substack, find this newsletter under Subscriptions, and select the language(s) you want.
Leer en español aquí.
Indigo, madder, weld. These three plants are known as “the ancient primaries” because they are the most trusted, long-lasting sources of blue, red and yellow, used for centuries by dyers all over the world. This July, I got to take part in this long history by working with all three of these plants, as well as seeing them all grow in the dye garden my parents planted for me.
Weld
Weld was technically the first plant I ever dyed with. When I became interested in natural dyes in 2016, I started with a copy of The Modern Natural Dyer and an accompanying kit, which came with a skein of bulky wool yarn and a tiny bottle of weld extract. I remember being fascinated by the idea of making the perfect shade of soft, sunny yellow that I couldn’t seem to find in a yarn store. I achieved the exact color I wanted, and I was hooked on dyeing, continuing with more and bigger experiments until… well, here I am now with a small business. But I never returned to dyeing with weld. After my first few experiments with extracts, I quickly moved on to finding plants and kitchen scraps in my local environment, and focused on working with whole dye materials I could source myself, so I didn’t need to spend money on extracts. Plus, yellow is the most abundant natural dye color in nature. I have plenty of natural yellow sources around me, in a range of tones and with different degrees of colorfastness, but I can pretty much always count on having a good quality yellow whenever I need it.
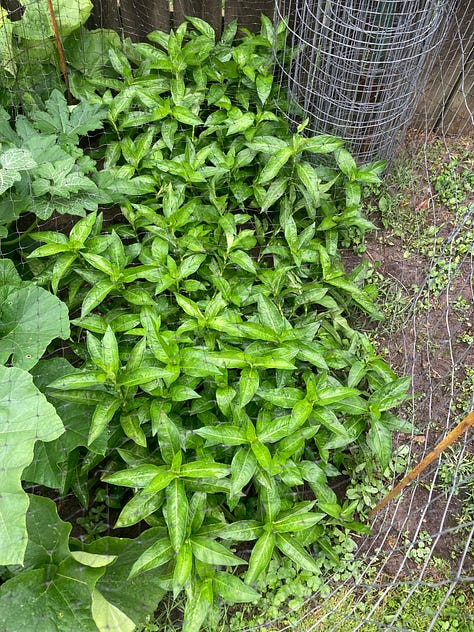
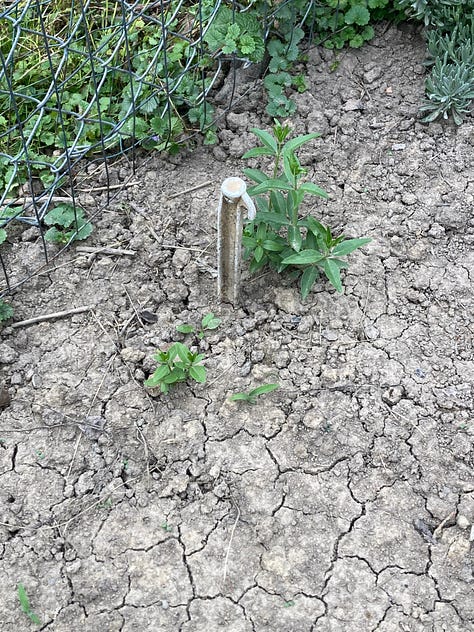
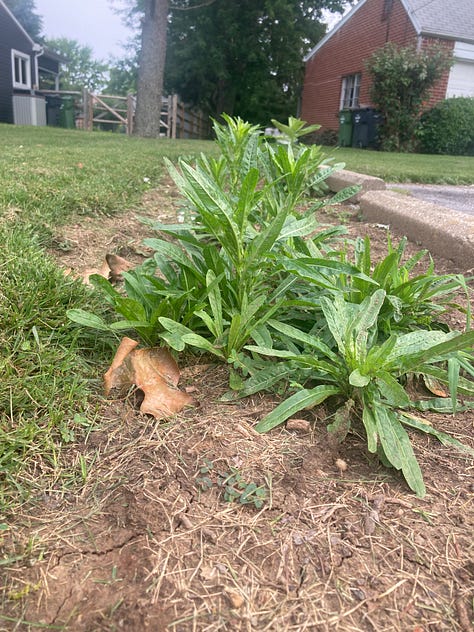
But when I received some weld seeds included with a yarn order from Wool & Palette of course I was excited to plant them. Weld is historically known as one of the most colorfast sources of yellow, and produces a clear, bright, almost neon yellow that is less common in nature than earthy or golden yellows. So I did a little research on growing weld, and my parents direct seeded them into the soil the following spring. For the first few months of the growing season, the results were lackluster. Since the seeds were a free gift, I didn’t worry too much, but it was a little disappointing. Then, when I came to visit in July, they suddenly started growing all over! The plants are still fairly small but they have definitely established a presence in the garden. My research indicates that weld doesn’t usually flower until the second year, and by the end of July some of the plants were getting pretty big but there were no flowers. While the whole plant contains dye compounds, the color potential is highest when it flowers. So I didn’t plan to undertake any big dye projects with homegrown weld this year.
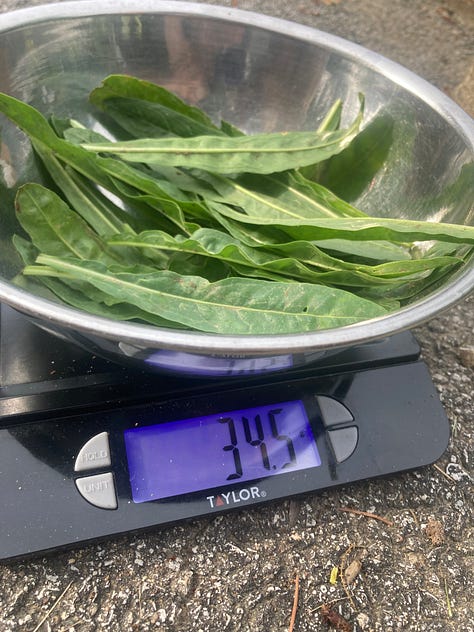
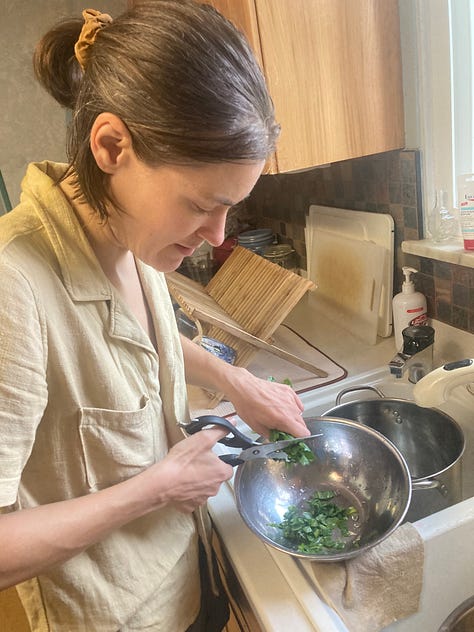
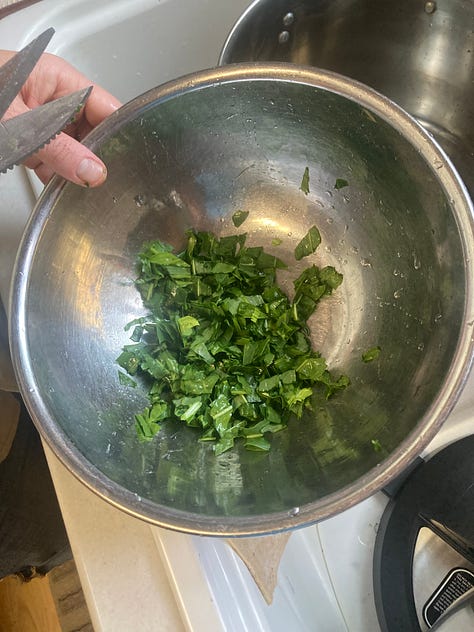
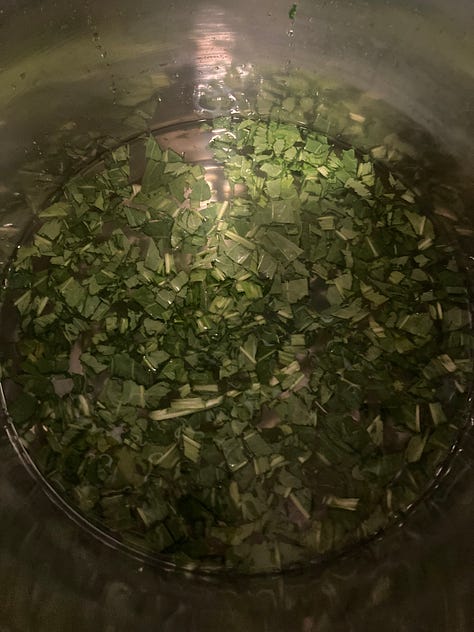

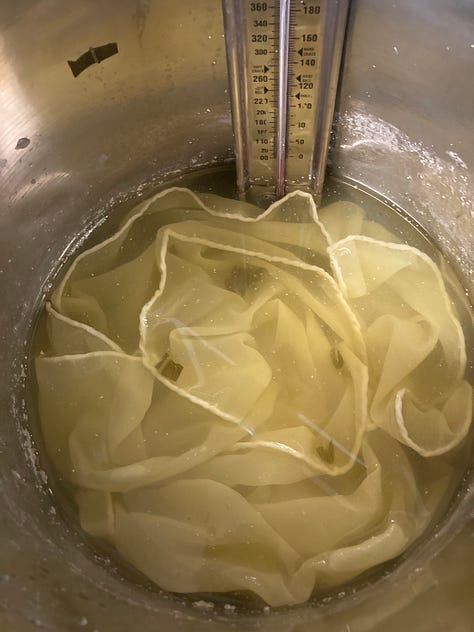
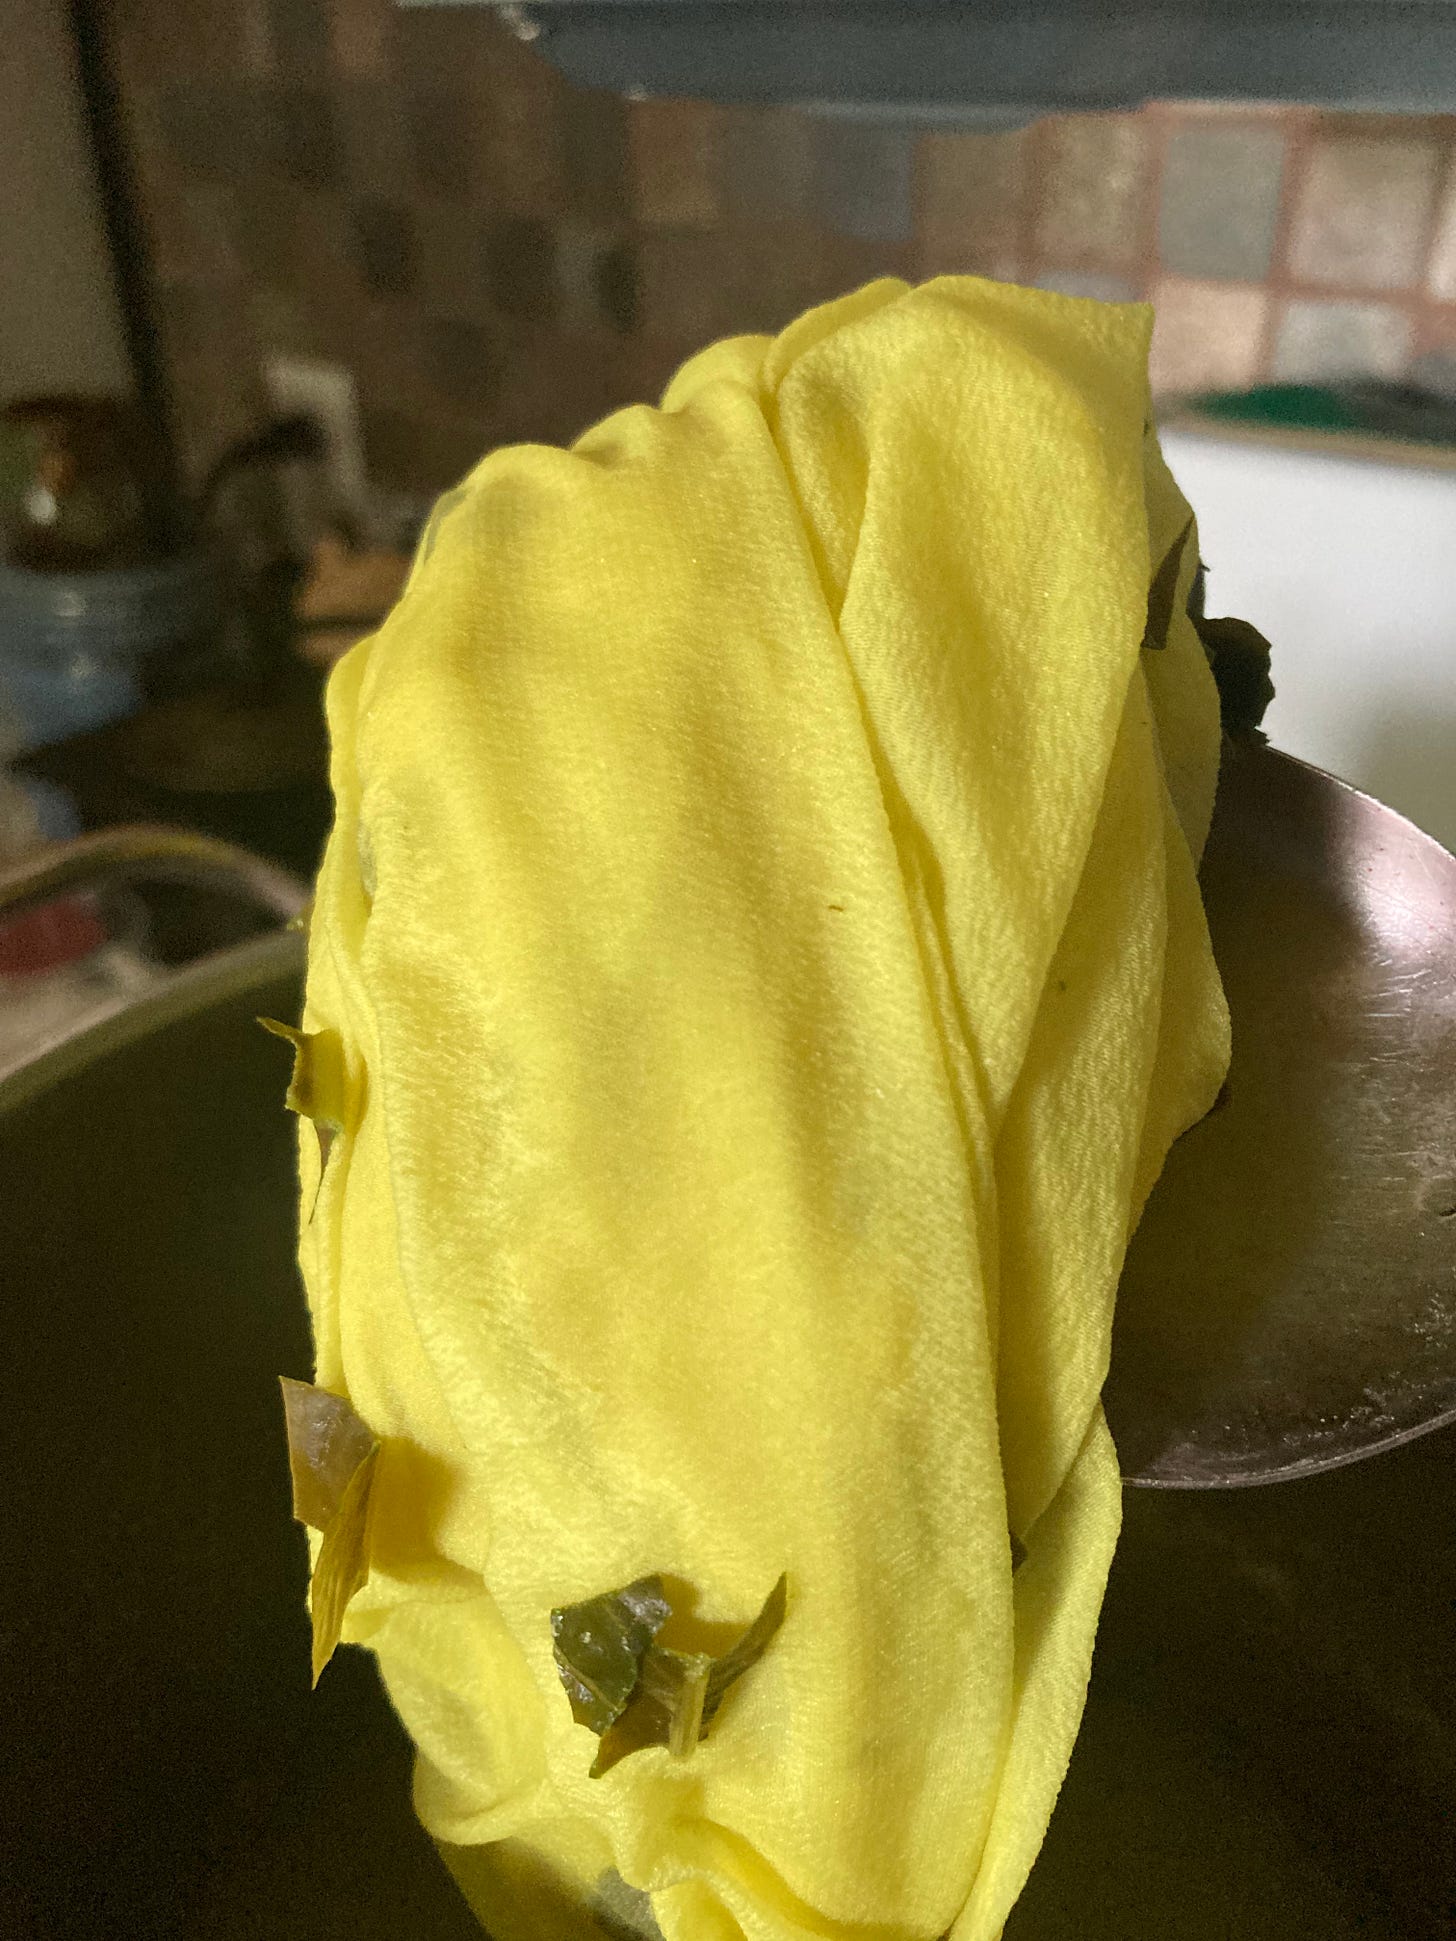
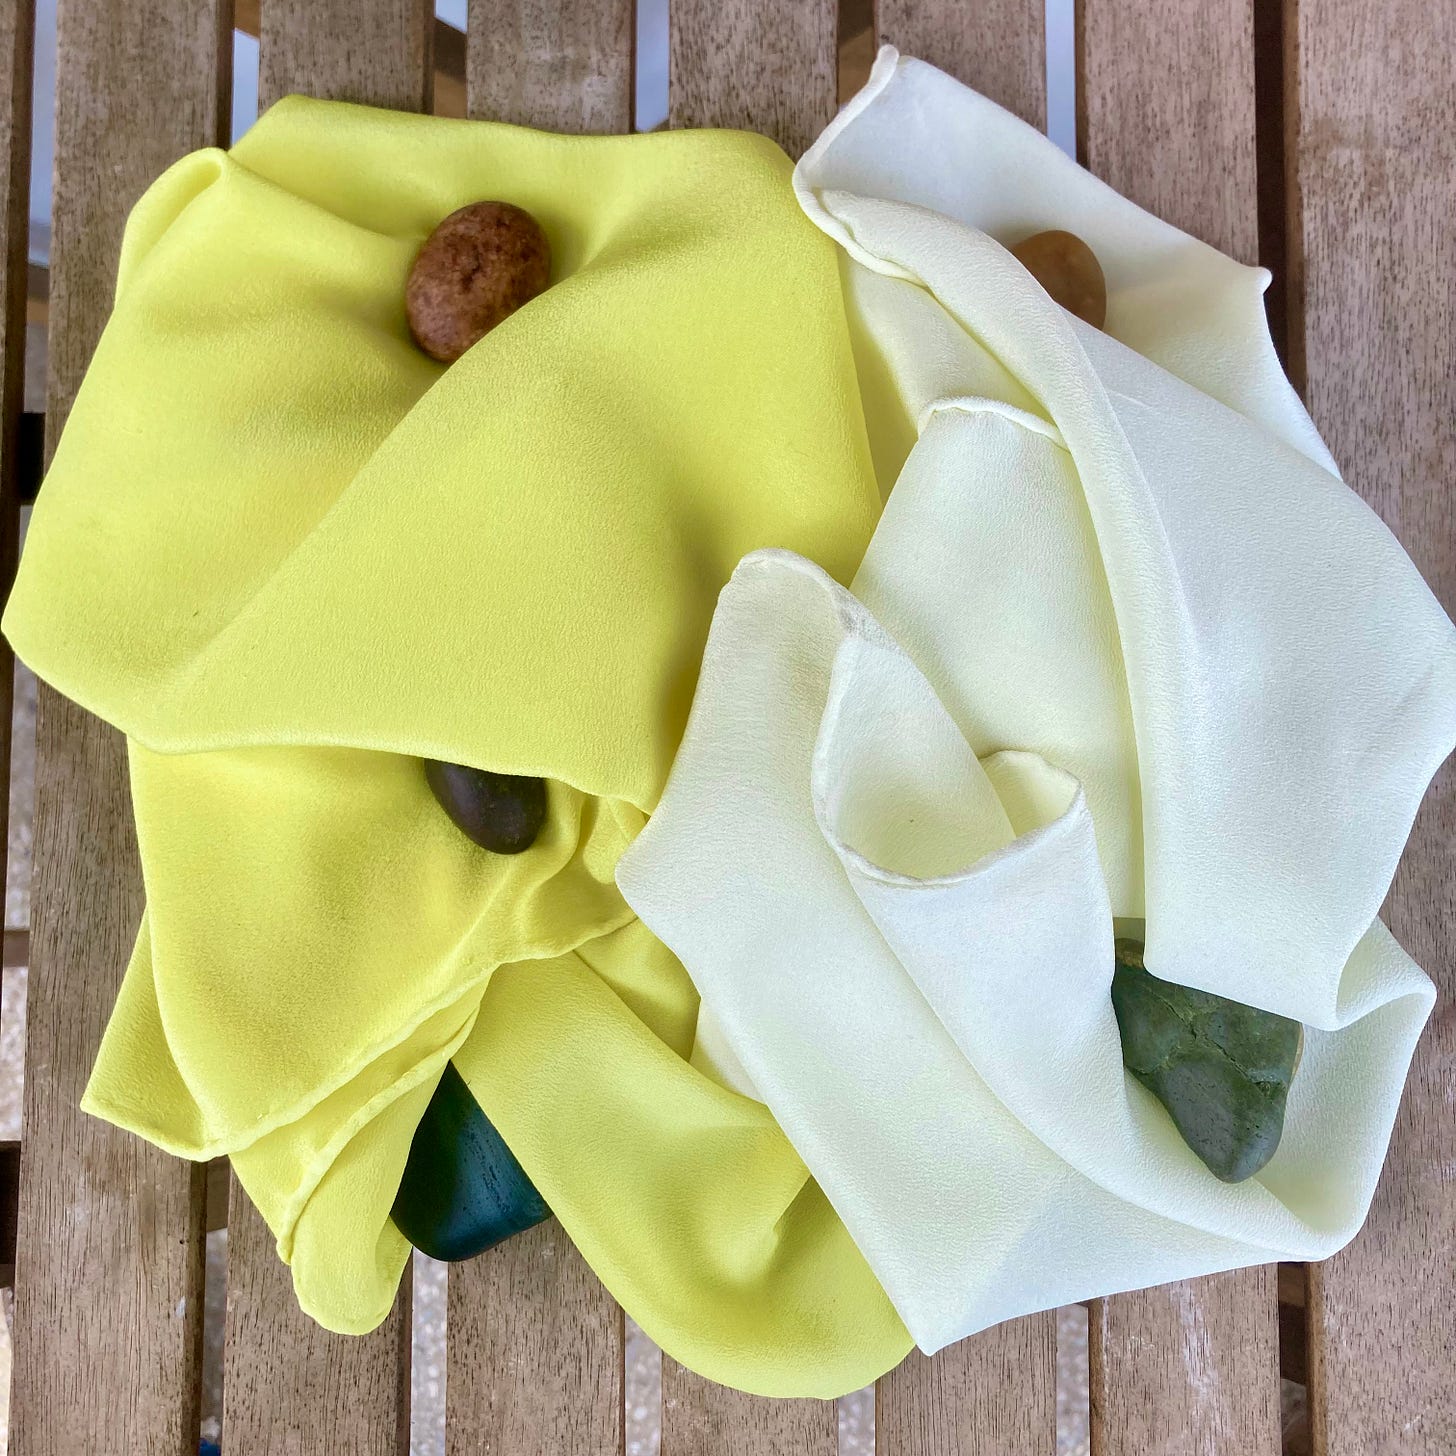
Still, I didn’t want to leave without testing my own weld at least a little. So towards the end of the month I snipped a few leaves (34g) and put them in a dye pot. I followed Catherine Ellis’s recommendation to add chalk to the dye bath, especially considering that I was using soft water- I used a few ground up antacids. A lot of yellow dyes prefer slightly hard water to obtain a more saturated color. Since I knew my plants hadn’t yet reached their full color potential, I kept my expectations low. The dye bath looked kind of pale and muted. Then I added a silk scarf (22g) mordanted with alum. For the first half hour or so, the fabric was just a pale yellow. I heated for an hour and then turned off the heat and let the scarf stay in the dye bath overnight, and then woke up in the morning to this beautiful surprise!
Because I didn’t want to waste even one drop of color, I added another silk scarf to the exhaust bath, which came out a very pale yellow that is too subtle to photograph well. I’m absolutely enamored of both colors and thrilled with my first homegrown weld experiments! Now I’ll let them keep growing for another year and hopefully have more bright yellows in my future. I’ve learned that I need to not underestimate this dye plant and give it time to do its work.
Madder
Madder is another plant that takes patience in the garden. My parents planted a few madder seedlings in the spring, but since it is the roots of madder that are used to extract dye, it is not ready to be harvested for three years. These madder plants are growing well in the garden, but harvest is still a long way off.
So, instead, I ordered madder root from Botanical Colors. Like weld, I used madder extract at the beginning of my natural dye journey, but haven’t returned to it since. While true reds are not at all abundant in nature, cochineal is the more accessible red dye material for me in Chile. Plus, working with whole madder root was a little intimidating, it’s a more involved process than most dye plants.
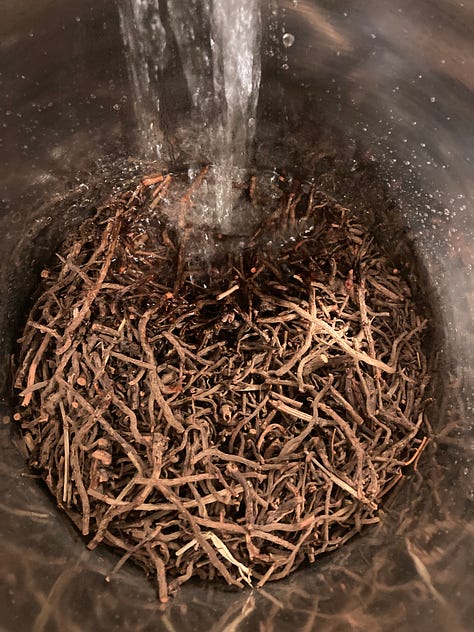
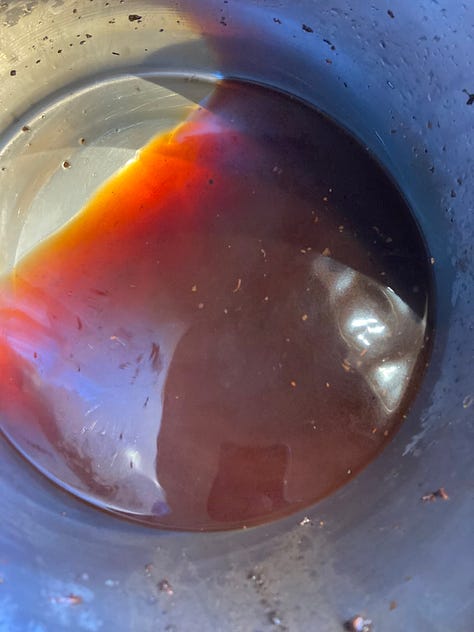
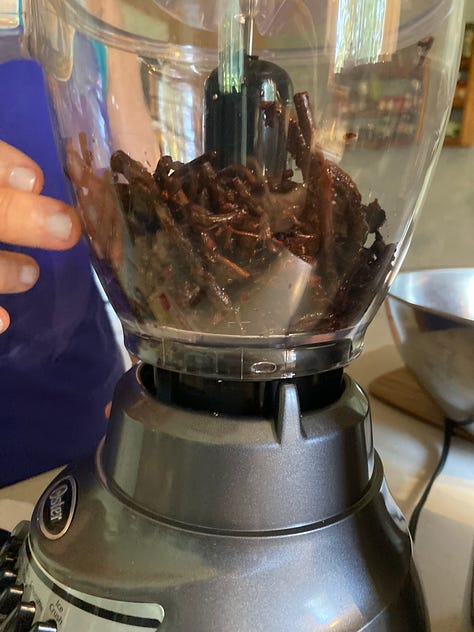
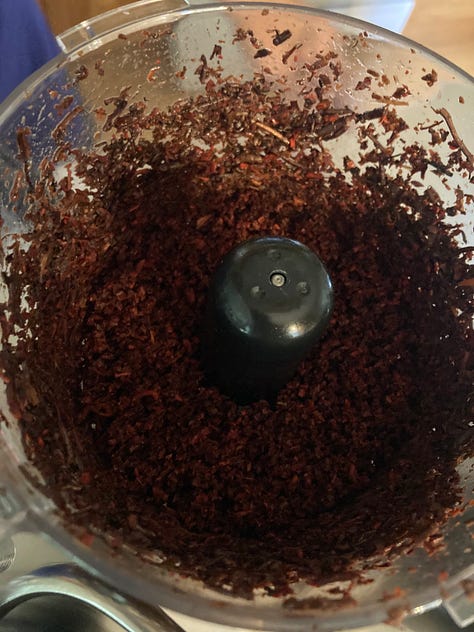
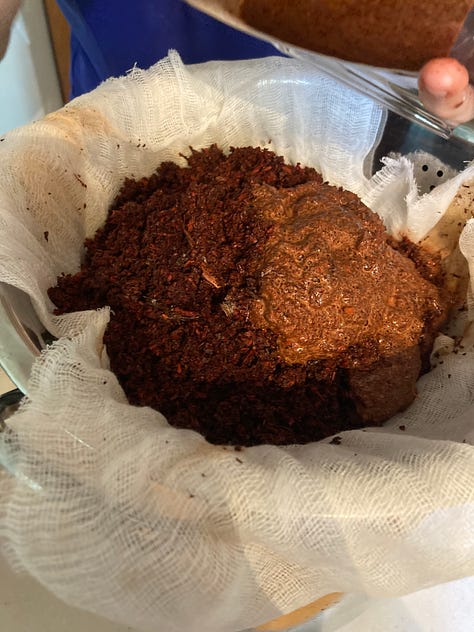
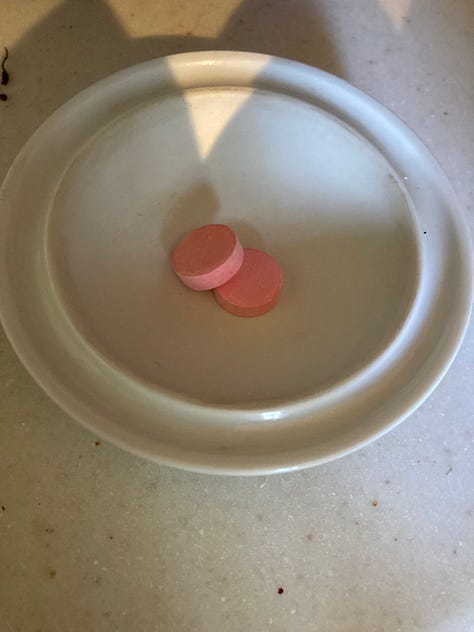
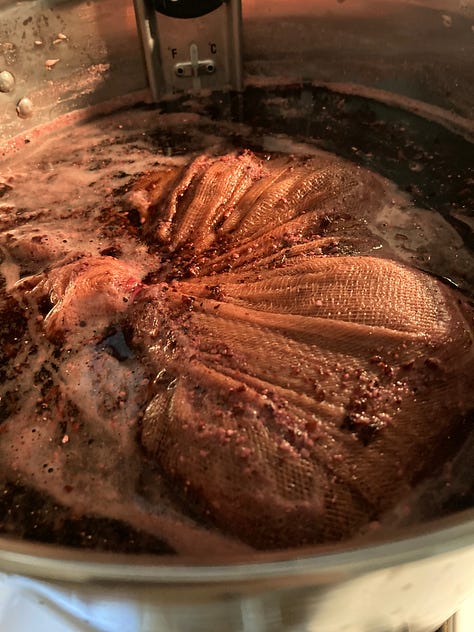
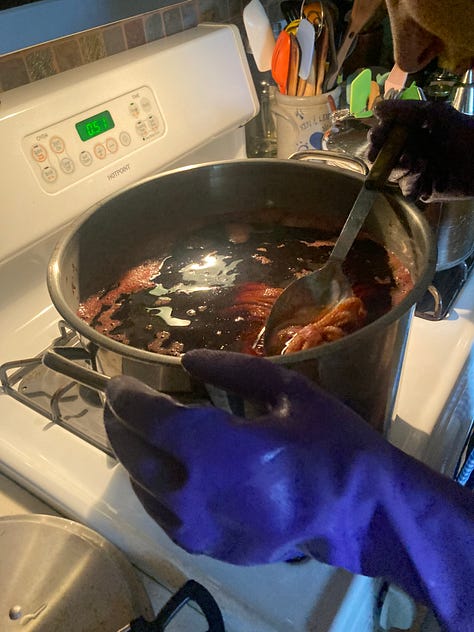
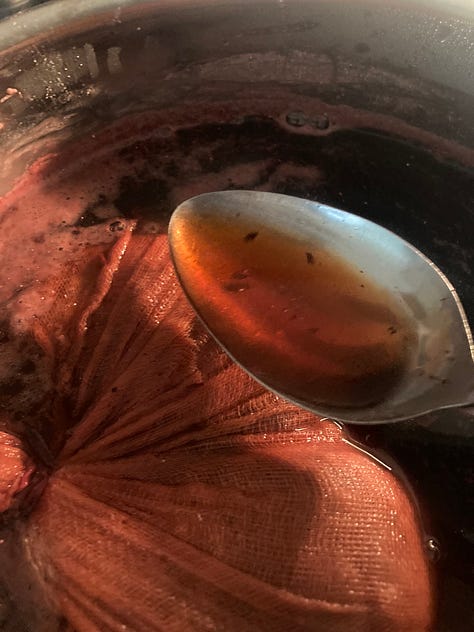
I had 200g of madder root, and I started by soaking them overnight to soften them for processing. I saved the water from soaking, and then ran the roots through a blender in small batches until they were all ground up into small pieces. I placed all these pieces inside a cheesecloth to try to contain all the pieces and save myself an eternity of picking them out of yarn later. Then I did a flash extraction- poured almost boiling hot water over the cheesecloth bundle, let it sit for one minute, then poured that water out. The idea is that this will quickly extract many of the yellow and brown dye compounds, so that the dye will yield a true red. Then I added the water from soaking to a pot with the bundle, filled it with enough water to eventually dye my yarn, and heated it up to 140°F, holding the temperature for two hours. Like weld, madder likes slightly hard water or a bit of chalk in the dye bath, so I ground up some tums to add to the soft water of the dye bath. At this point I had to take a break to eat lunch and teach some English classes so the dye bath had a few hours to develop color and cool down.
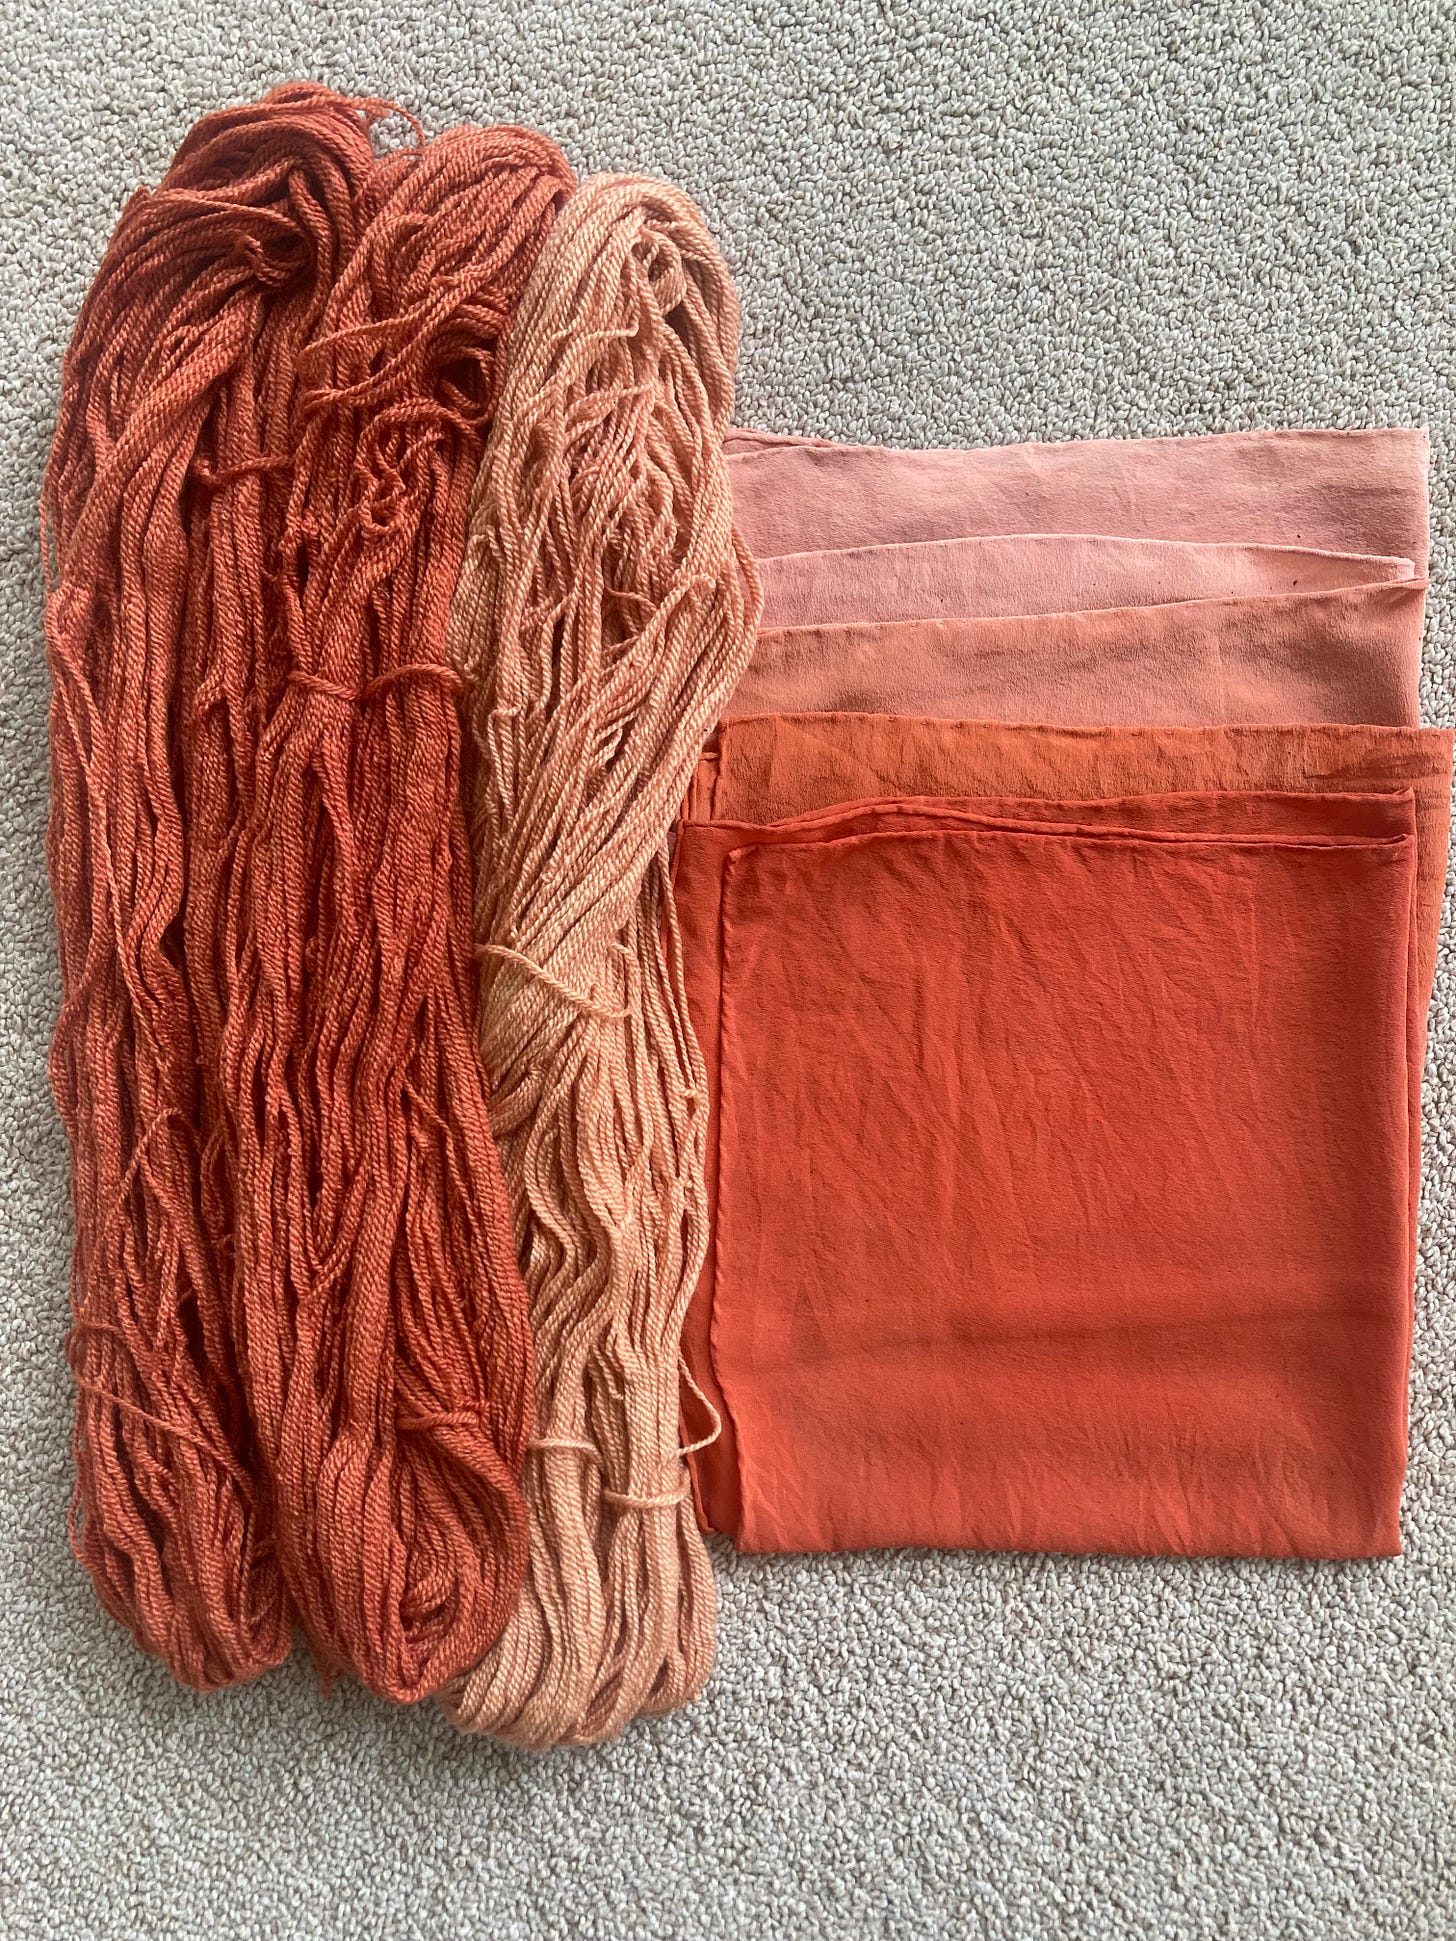
When I returned to dyeing, I added two skeins of a Merino silk blend fingering, mordanted with alum. I heated the dye bath again. After heating these two skeins for an hour, the dye bath was looking more orange than true red, so I added more antacids to try to coax it towards red. After removing the first skeins, I dyed one more skein in the exhaust bath. The dye bath was already much paler but I got a very pretty pink.
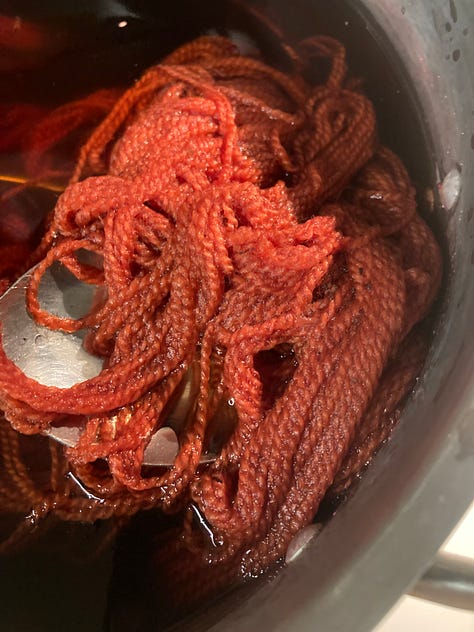
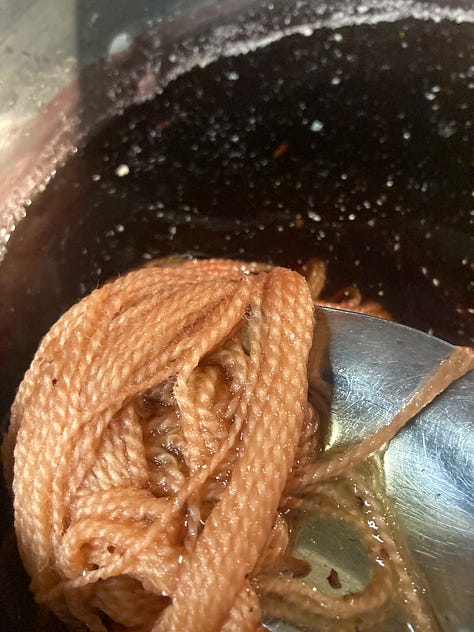
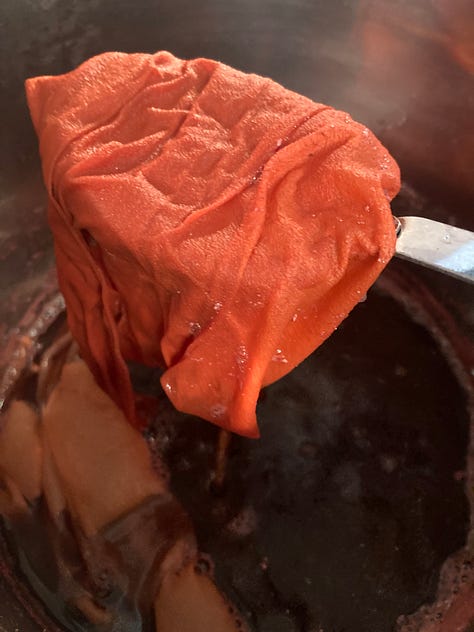
When I removed the root bundle I saved it and let it soak in water overnight. The next morning, it looked pretty red, so I heated it up again and added some antacids to extract color a second time. I used this second dye bath to dye 5 silk scarves (about 22g each) different shades of orange-red and pink.
I never did achieve a true red from madder. True red from either madder or cochineal is tricky and while I have managed it before with cochineal, it’s a skill I’m constantly practicing and working to improve as a dyer. I’m not surprised I didn’t get it my very first time working with madder root. Besides, I love the colors I did get. I’m always modifying cochineal to get these colors and with madder I achieved them without even trying. I hope to make madder a more regular part of my dye practice and continue learning with it so that when the time comes to harvest my own homegrown madder, I’ll feel confident working with it.
For both madder and weld, I relied on information from A Year in Natural Dyes from the Dogwood Dyer. Definitely a worthwhile investment if you’re looking for in depth information on growing and working with dye plants.
I haven’t decided on my final plan for all these silk scarves. Should I leave them as solid colors or bundle dye over them? Or maybe decorate them with a little embroidery? Whatever I decide to do, they are for sale now or in whatever their final form becomes, so don’t hesitate to send me a message at neblina.wool@gmail.com if you’d like one!
This newsletter is already getting long, and I have even more to say about my work with indigo. So I’ll share what I learned during my July indigo adventures in the next newsletter.
As always, please subscribe if you enjoy this newsletter or share it with someone else who might like it! You can also follow my work on Instagram and see all my yarn on my website. Thanks for reading!




Lovely and very interesting.